
Whereas we’ve tried a couple of totally different soap-making methods right here on Hey Glow, there’s nonetheless one which we haven’t but tackled: cleaning soap with lye.
I think about myself a reasonably fearless DIYer (I imply, what might presumably go fallacious with a half-pound of charcoal and a few citric acid?), however I’ve all the time been slightly nervous with regards to making cleaning soap the old style method—particularly after I can simply buy melt-and-pour soap and be accomplished with it. However after moving into a nasty batch of the melt-and-pour stuff lately, I made a decision it was time to beat my fears and learn to make my very own cleaning soap from scratch.
With a little analysis, I came upon there’s a motive folks nonetheless make cleaning soap the old style method. Again within the day, lye cleaning soap was used to wash every part from garments and stains to dishes and flooring. It was even stored within the drugs cupboard to deal with poison ivy, soothe rashes, and take the itch out of bug bites.
The key? A excessive lye content material mixed with pure animal fats (i.e., no fancy oils) offers conventional cleaning soap further cleansing energy whereas nonetheless retaining a great quantity of moisture and wholesome fat.
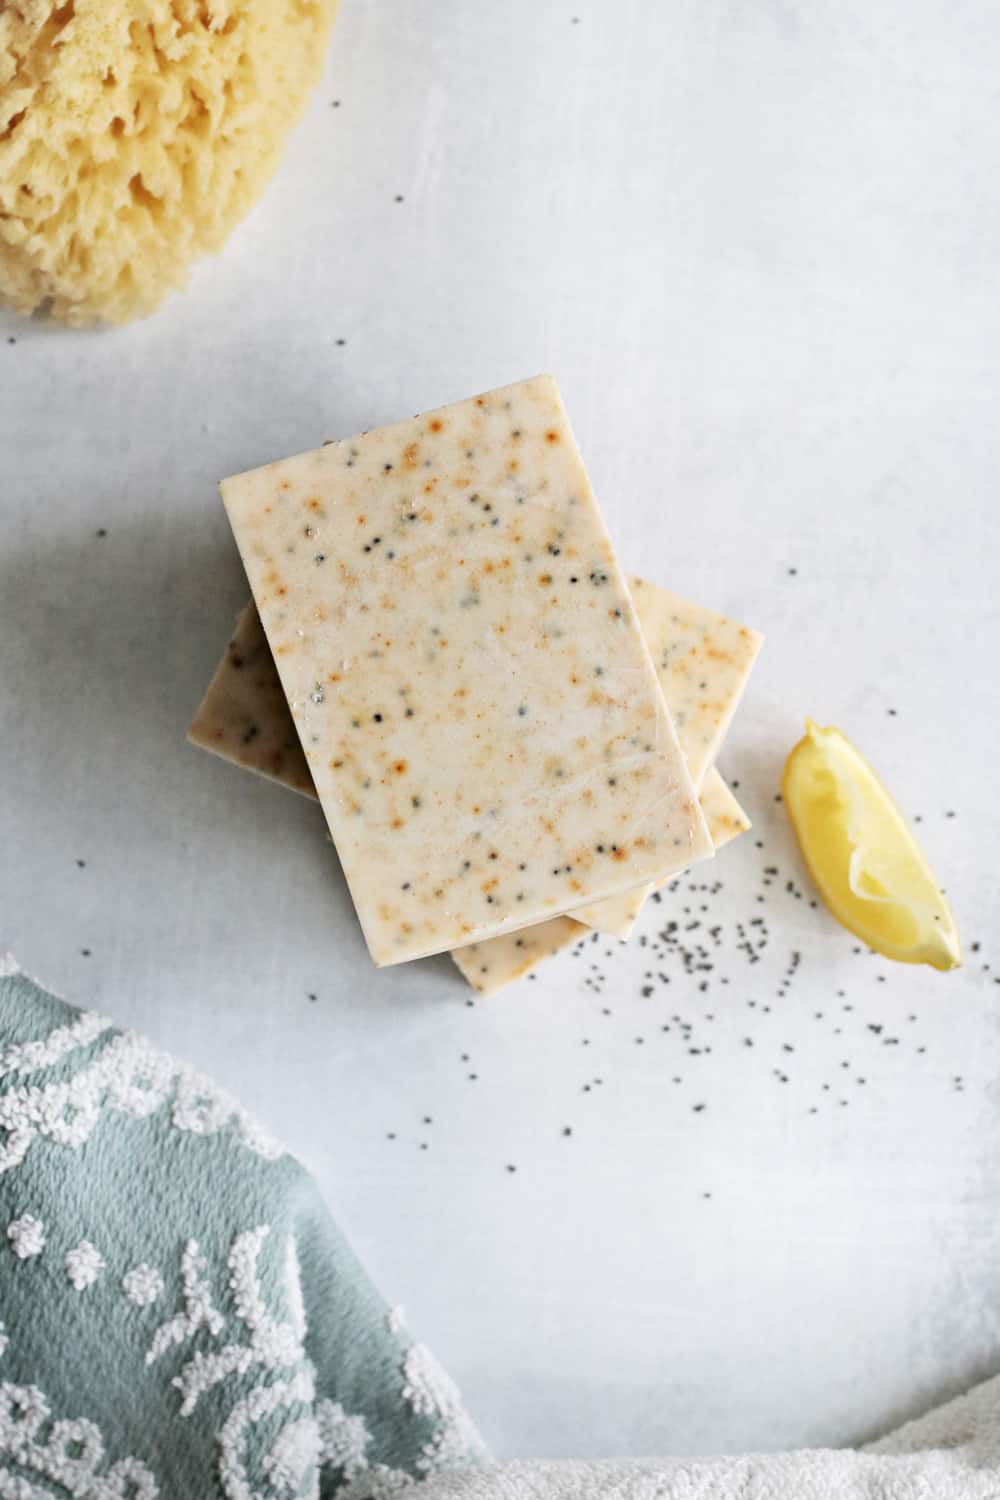
Since I like cleaning soap to be a tad on the softer facet, I made mine with much less lye and a better fats content material. Then I scented it with lemon important oil and a contact of bergamot for aromatherapy functions.
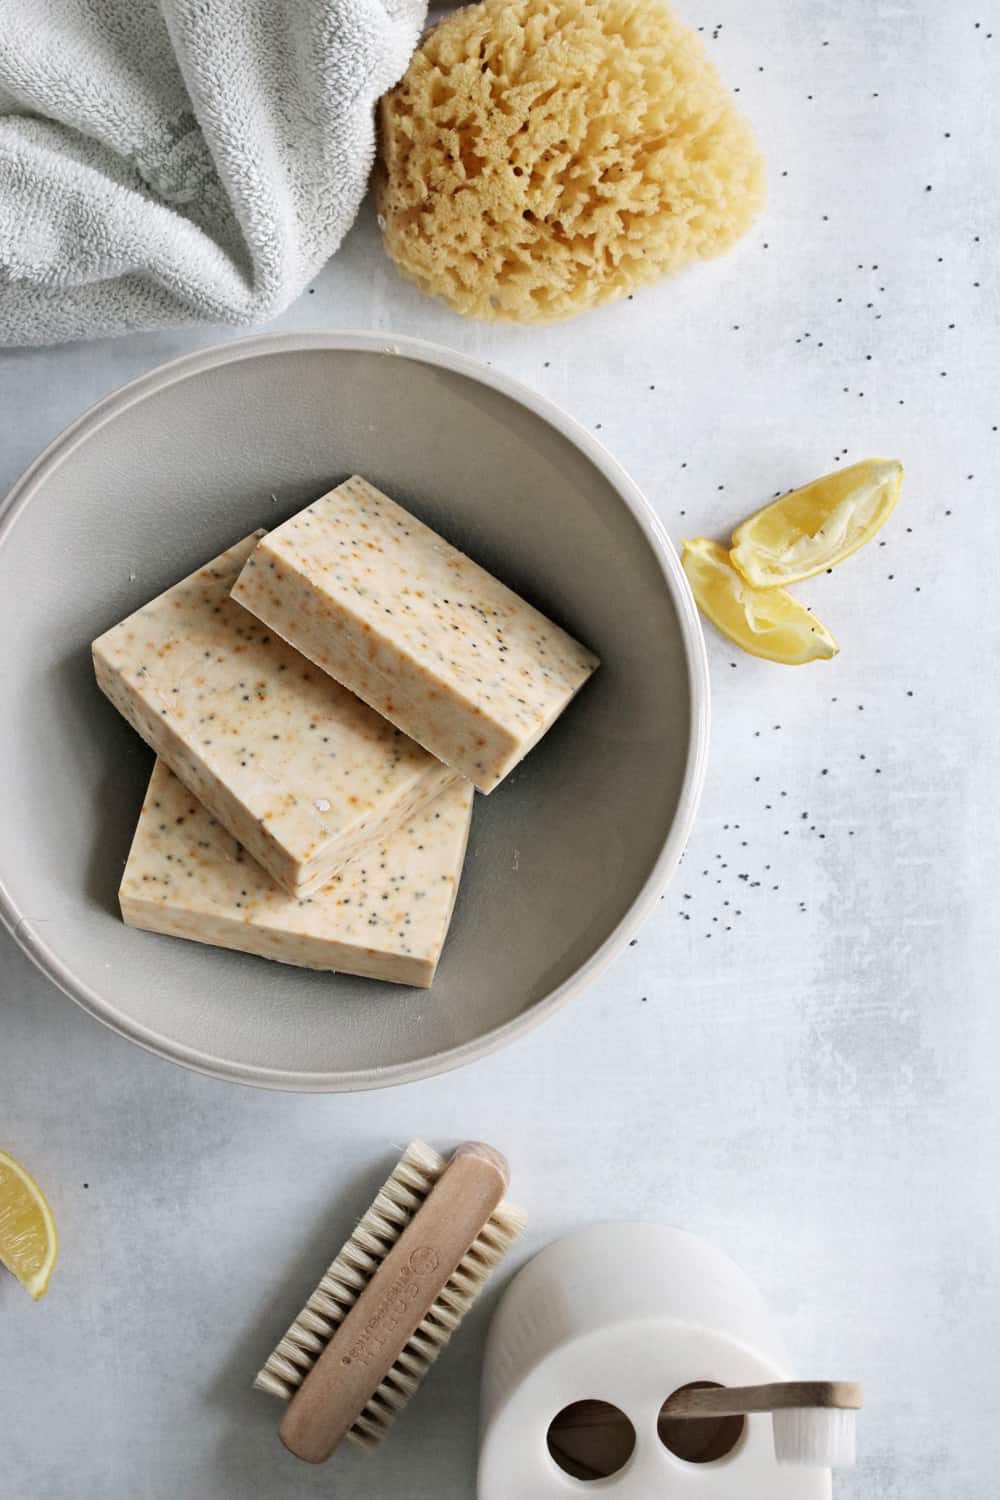
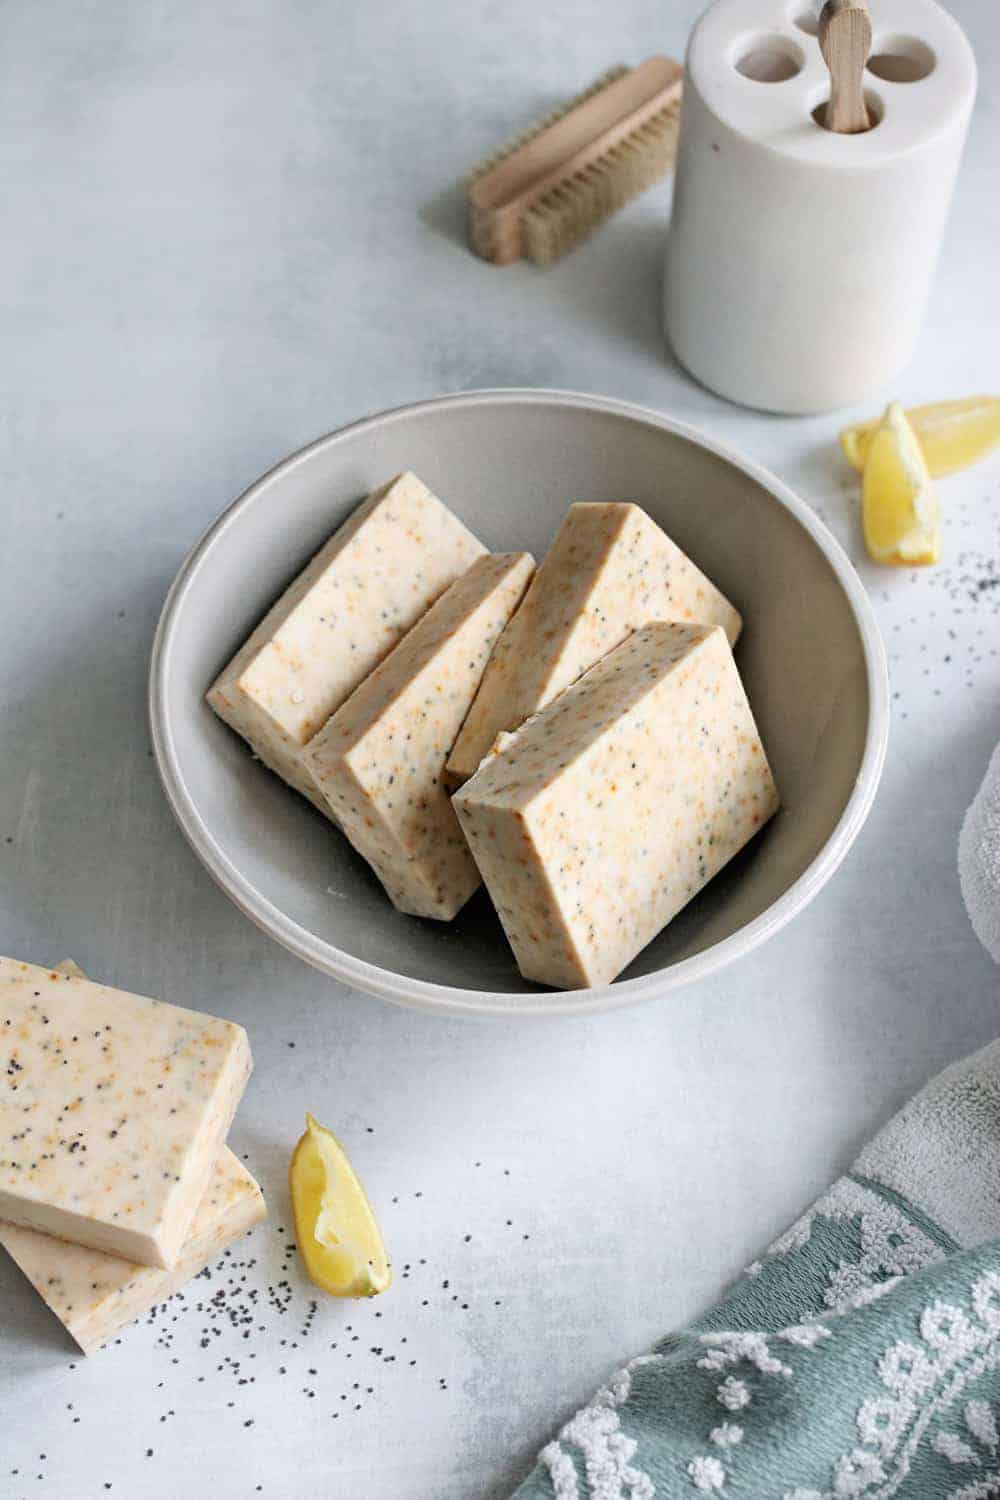
I additionally added some poppy seeds for distinction and lightweight exfoliation. Not solely will this lemon poppy seed cleaning soap depart your pores and skin feeling recent and clear, nevertheless it can be used as a family cleaner in a pinch.
Easy methods to Make Chilly Course of Cleaning soap with Lye
Numerous totally different lye cleaning soap recipes appear to be floating across the web, and generally it might appear slightly overwhelming. When you don’t want quite a lot of elements to make your personal cleaning soap, you do must take further precautions when working with lye. Right here are some things to remember earlier than you get began:
1. When blended with water, lye creates poisonous fumes and might burn your pores and skin. At all times put on gloves, lengthy sleeves, and goggles to stop burns must you by chance spill or splash your self. Combine lye with water in a well-vented space (exterior is greatest), and preserve some white vinegar close by in case of splashes.
2. At all times add lye to water, by no means water to lye. Including water to lye could cause an eruption that may burn you!
3. Use previous provides for making your cleaning soap and preserve these separate out of your on a regular basis cooking provides. As soon as one thing has touched lye, you actually don’t need it to return in touch with meals.
4. In terms of molds, you should utilize an previous loaf pan lined with wax paper or buy silicone cleaning soap molds. I used a preformed bar cleaning soap mould as a result of it got here free with the lye I purchased from Amazon (huzzah!), however you don’t want a flowery cleaning soap mould. An previous loaf pan will do fantastic (simply do not preserve it with those you utilize for meals), and you may slice the cleaning soap as soon as it’s hardened.
5. Use a lye calculator to determine precisely how a lot lye and water you want in your specific sort of fats. Then pre-measure your elements and have them at arm’s size so you’ll be able to work rapidly when you begin mixing issues collectively.
Tools
- 16-ounce glass jar
- Small glass or plastic dish (for holding dry lye flakes)
- Chrome steel pot (lye reacts with aluminum to create poisonous fumes)
- Immersion blender
- Kitchen scale
- Cleaning soap mould
- Sweet thermometer
- Gloves, goggles, and a face masks
Cleaning soap Components
As soon as you’ve got bought all of your provides collectively, watch this fast video exhibiting you learn how to make chilly course of cleaning soap and browse the detailed directions under!
Chilly Course of Cleaning soap Directions
1. In the event you’re utilizing a glass or wood mould, line it with wax paper.
2. Put in your protecting gear. Place your glass jar on the kitchen scale and tare your scale. Pour filtered water into the jar till it reads 10.5 ounces. Then put aside.
3. Put the small glass or plastic dish on the dimensions and tare the dimensions once more. Rigorously pour lye into the dish till it reads 4.25 ounces. Notice: static electrical energy could cause the lye to cling to your gloves or clothes. If this occurs, fastidiously brush it off exterior and use white vinegar to neutralize it when you get any in your pores and skin.
4. Go exterior and slowly pour the lye into the water. Stir the combination till the lye is totally dissolved. As you stir, the combination will turn into fairly scorching, so watch out if it’s worthwhile to transfer it. Let it cool to between 100 and 120 levels F.
5. In the meantime, place the lard in a stainless-steel pot and put it on the burner. Warmth over medium warmth till utterly melted. Take away the oils from the warmth and let cool to between 100 and 120 levels F. Use a sweet thermometer to check the temperature each 5-10 minutes till it reaches the specified temperature. If one is cooling quicker than the opposite, put your oils again on the burner or place the lye/water combination in a heat water tub to sluggish the cooling. Ideally, you need the lye/water and the oils to each be between 100 and 120 levels F and inside 10 levels of one another.
6. Slowly pour the lye/water into the oils. Place your immersion blender into the pot, ensuring the blade is totally submerged within the combination, and mix till the cleaning soap combination resembles cake batter (about 3–5 minutes).
7. Add the turmeric, poppy seeds, and important oils.
8. Pulse the immersion blender a couple of extra instances to include the add-ins. Raise the blender up and see if the drips depart a path or “hint” on the floor of the cleaning soap combination (that is referred to as “medium hint”). If that’s the case, pour the cleaning soap into your mould. Do not forget that the cleaning soap shouldn’t be totally “cooked” but at this level and will nonetheless irritate your pores and skin, so you need to nonetheless be sporting your protecting gear.
9. Put the mould someplace heat (like in an oven with the sunshine on), and let it sit for twenty-four hours.
10. After 24 hours, pop your cleaning soap out of the mould and lower if wanted. Stand the bars up in a dry space with area in between each to permit for air circulation. Allow them to sit for 4–6 weeks to let the cleaning soap end hardening. The cleaning soap will lose a few of its water throughout this time, making the bar tougher and longer lasting.
11. If you’re accomplished and together with your gloves nonetheless on, rinse any provides that had lye or cleaning soap combination in them with working water. Pour some vinegar right into a sink full of scorching soapy water and wash every part in there, then put aside away out of your meals prep space to dry. Retailer all cleaning soap making instruments in a closet or cupboard away from meals.
Extra Chilly Course of Cleaning soap Recipes
In the event you really feel such as you’re getting the dangle of it, listed below are extra chilly course of cleaning soap recipes you may attempt:
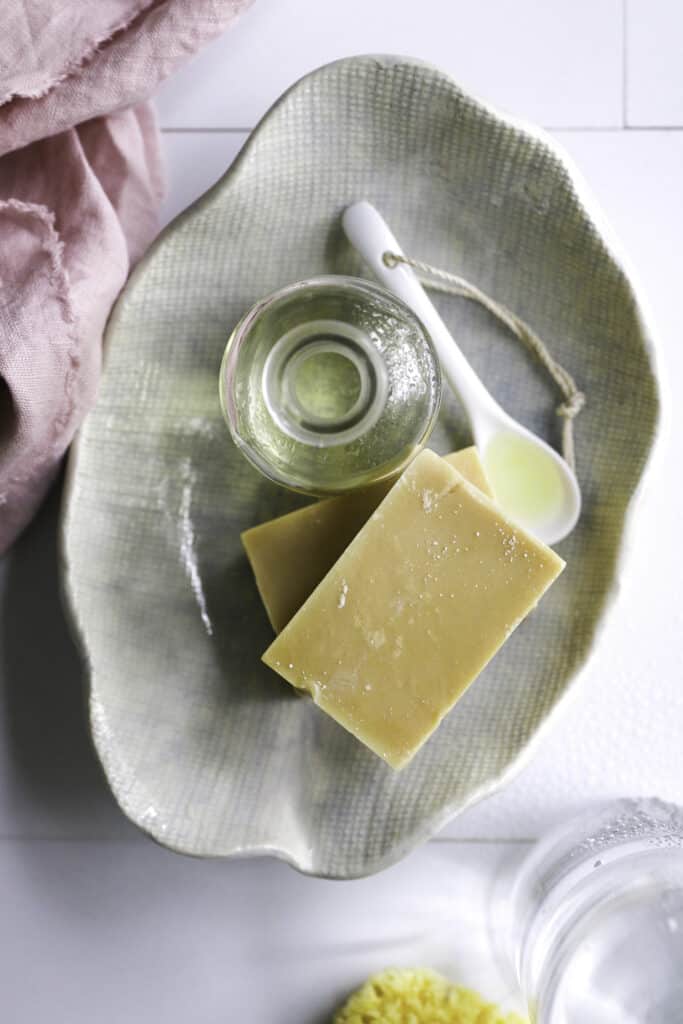
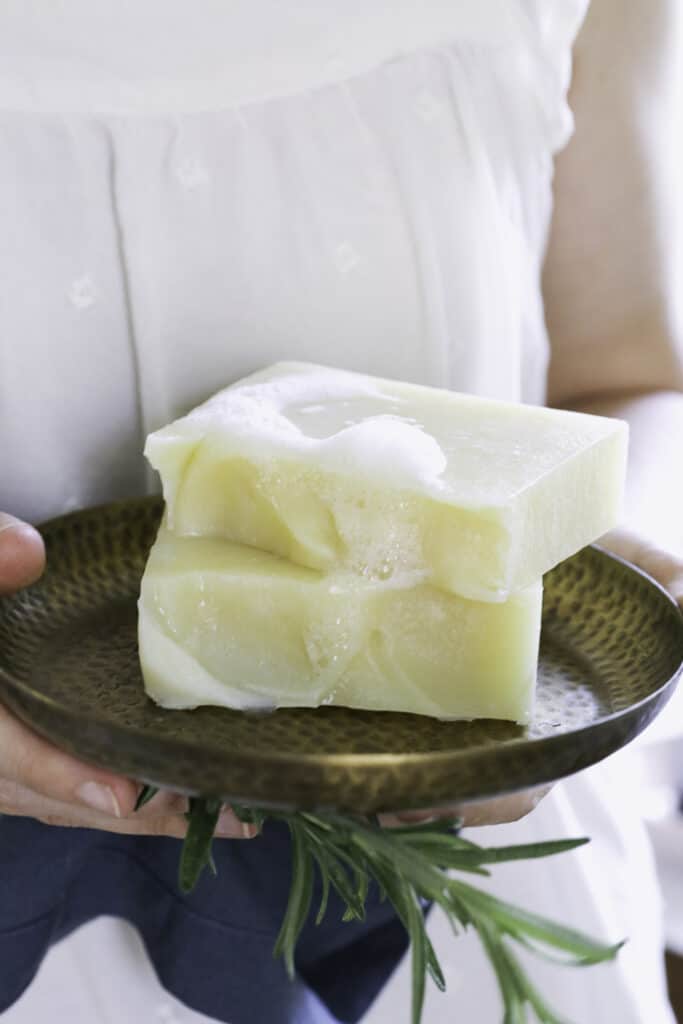
DIY Olive Oil Soap
Even when you’re not often a fan of bar cleaning soap, this DIY olive oil soap may have you singing a special tune. It is mild and creamy and can be utilized on something from moisturizing your pores and skin to treating laundry stains.
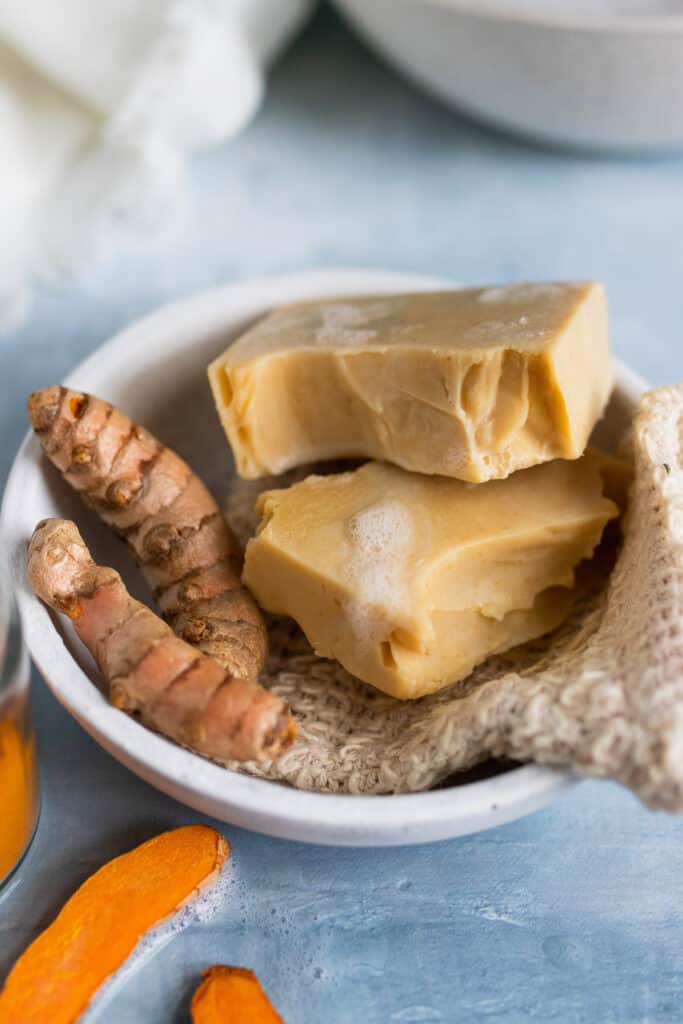
Honey + Turmeric Soap
This all-natural, head-to-toe magnificence bar is infused with turmeric, uncooked honey, and witch hazel. And it might even dry up pimples, leaving your pores and skin vivid and clear. It accommodates further plant butters and oils to assist hydrate because it cleanses, which works wonders on the pores and skin.
Cold Process Shampoo Bar
Shampoo bars are all the craze proper now (because of the latest waste consciousness!), and there isn’t any motive you should not make your personal. This chilly course of recipe is made for fantastic and oily hair, hydrating it with out weighing it down.
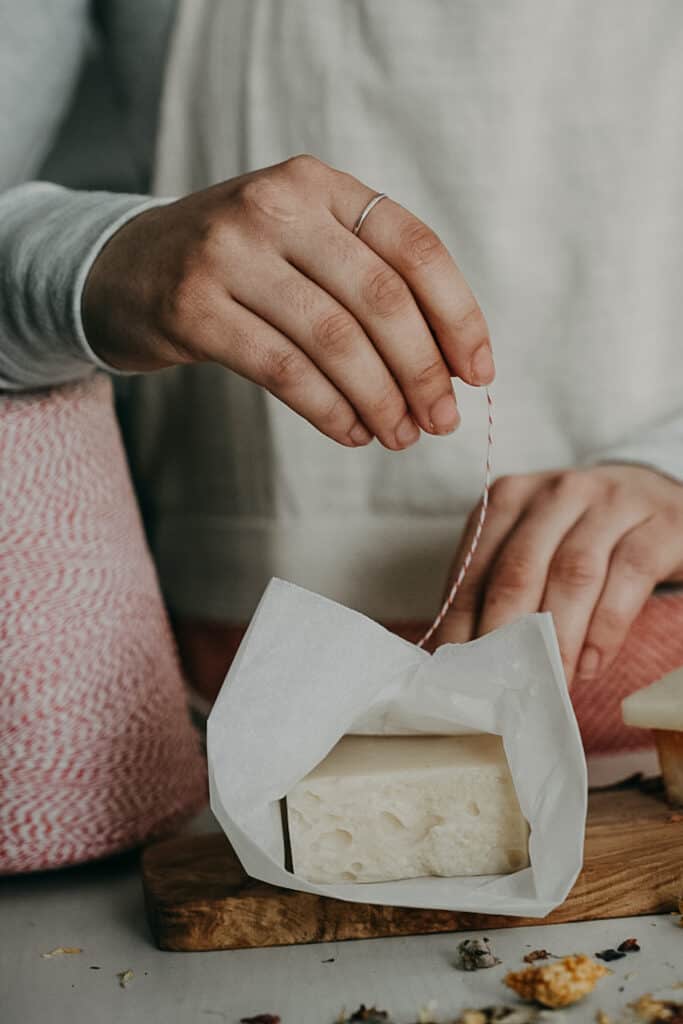
Lavender and Lemon Herbal Laundry Bar Soap
Inexperienced up your laundry routine with a chilly course of lavender and lemon natural cleaning soap bar. The expertise of taking your recent garments out of the wash with the beautiful scent out of your handmade laundry bar shouldn’t be solely invaluable and satisfying, however your pores and skin may also absolutely thanks for selecting all-natural elements that increase pores and skin well being.
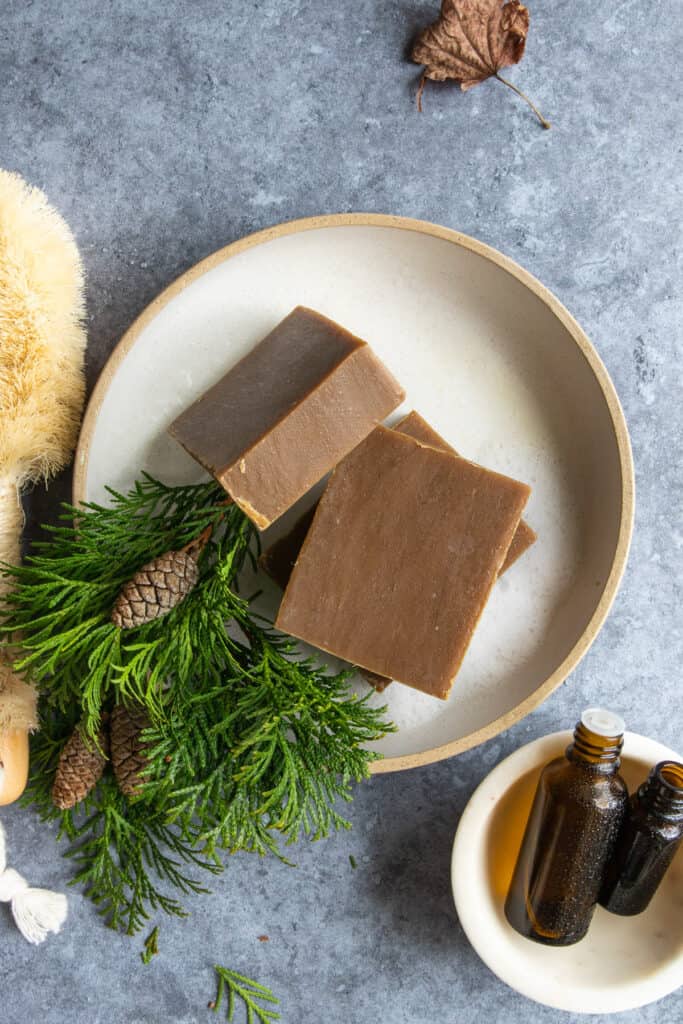
Pine Tar Soap
Pine tar has been used to nourish pores and skin, soothe irritation and deal with numerous pores and skin situations for over 2000 years. And just a bit bar of pine tar cleaning soap can lock in moisture and relieve itchiness. If that does not scream winter skincare, we do not know what does!
You should use this cleaning soap in your face, physique, and even hair, and you will be completely happy to listen to it really works wonders for BO and pimples.
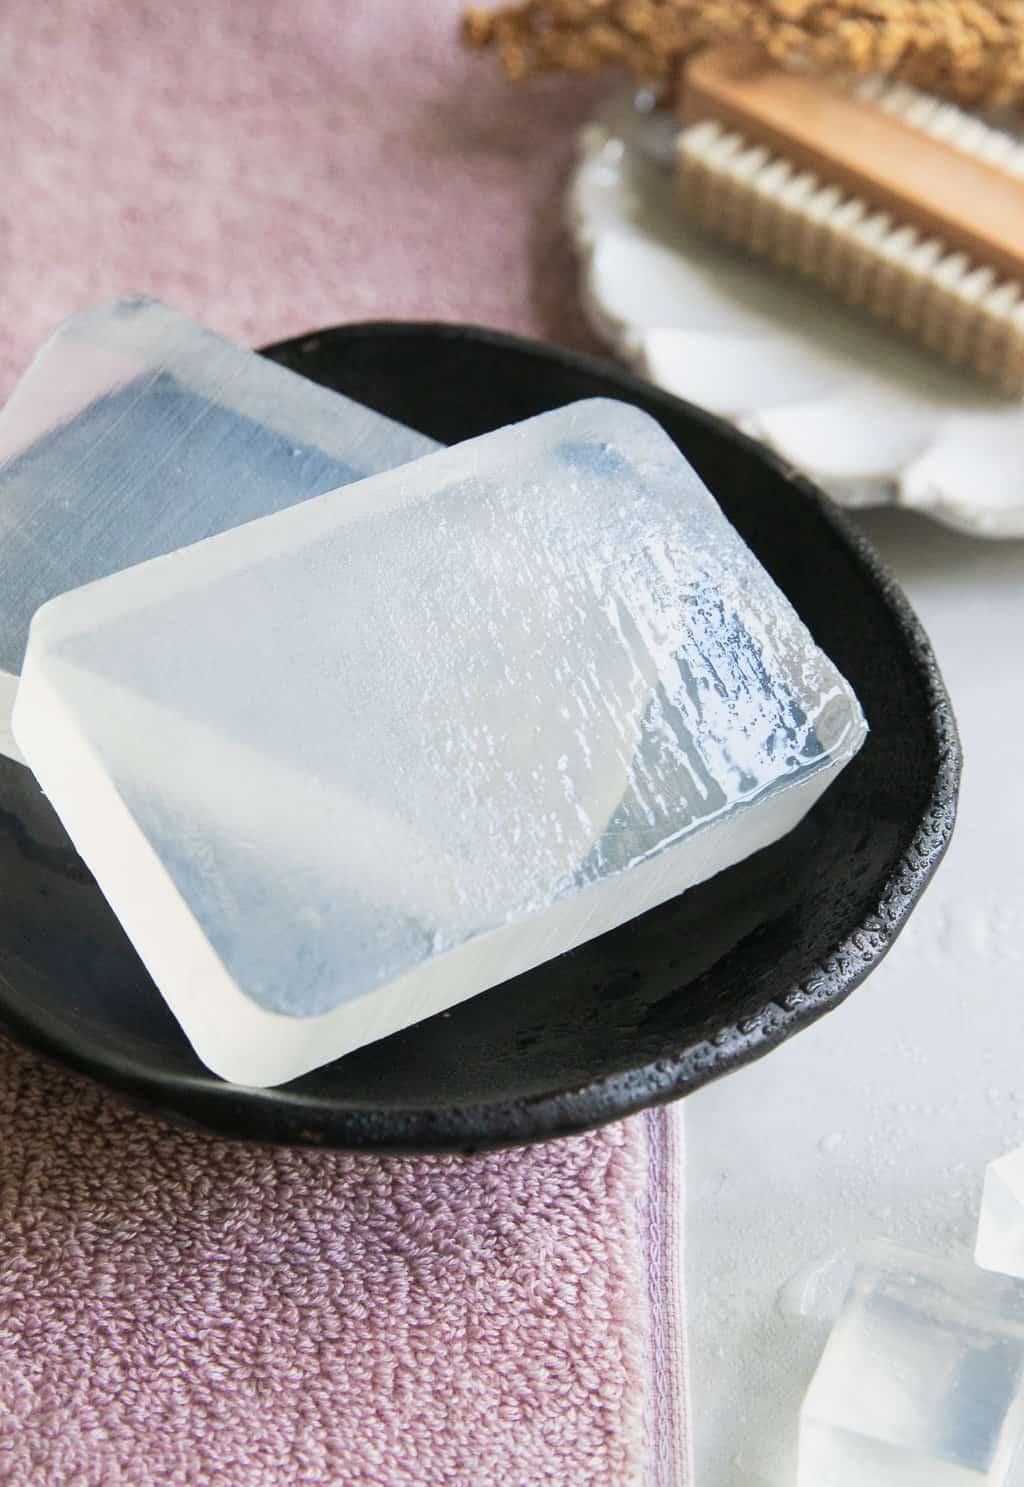
Homemade Glycerin Soap
In contrast to some soaps that dry pores and skin out and make it really feel tight and itchy, glycerin cleaning soap is a humectant, which suggests it helps retains pores and skin hydrated [source]. When making cleaning soap at residence, the glycerin is left in because it gives an additional increase of moisture. This recipe processes the cleaning soap a bit additional to take away the oils and fat within the cleaning soap and find yourself with a transparent glycerin cleaning soap base.
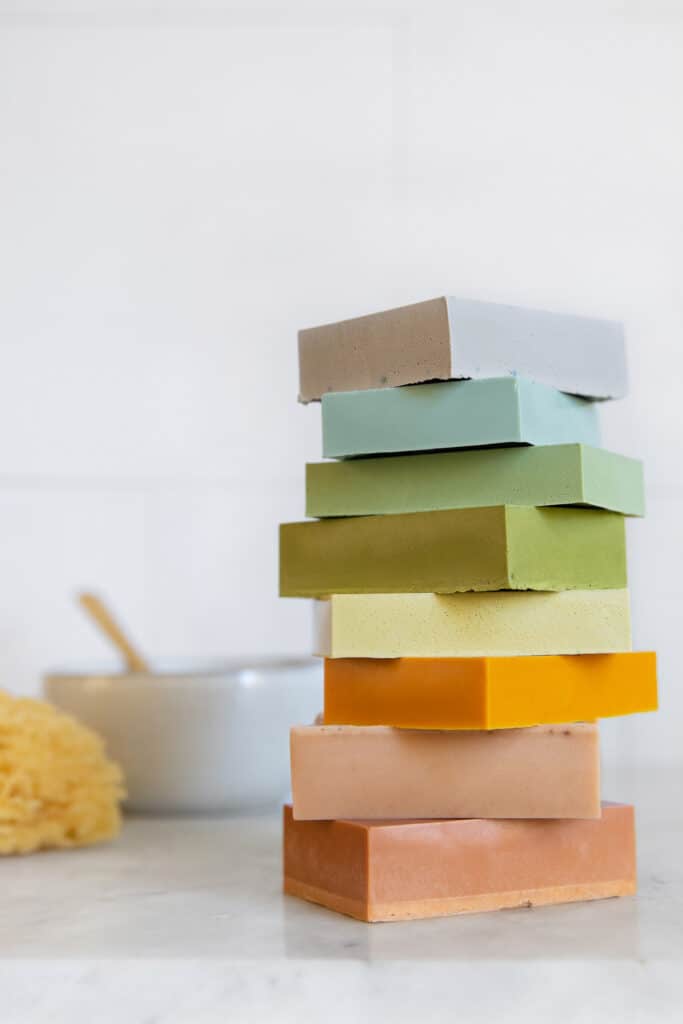
Bonus: How to color cold-process soap
If you really feel you’ve got mastered cold-process soap-making and are able to develop your personal recipes, use this information for one of the best ways to naturally shade your soaps. Undecided what else you may want? Here is the whole information to must-have soap-making instruments.